 "MM54" (mm54mk2)
07/24/2016 at 19:40 • Filed to: '71Chevelle
 2
2
 2
2|
"MM54" (mm54mk2)
07/24/2016 at 19:40 • Filed to: '71Chevelle | 2
| 2 |
Between work (travel), buying a house, and going to the Pittsburgh Vintage Grand Prix (I promise I’ll post those pictures before too long), I’ve been very busy lately and haven’t had a free weekend in about a month to work on the Chevelle. That changed yesterday, as I was able to get a bit more progress made.
I picked up right where I left off last time, making brake lines.
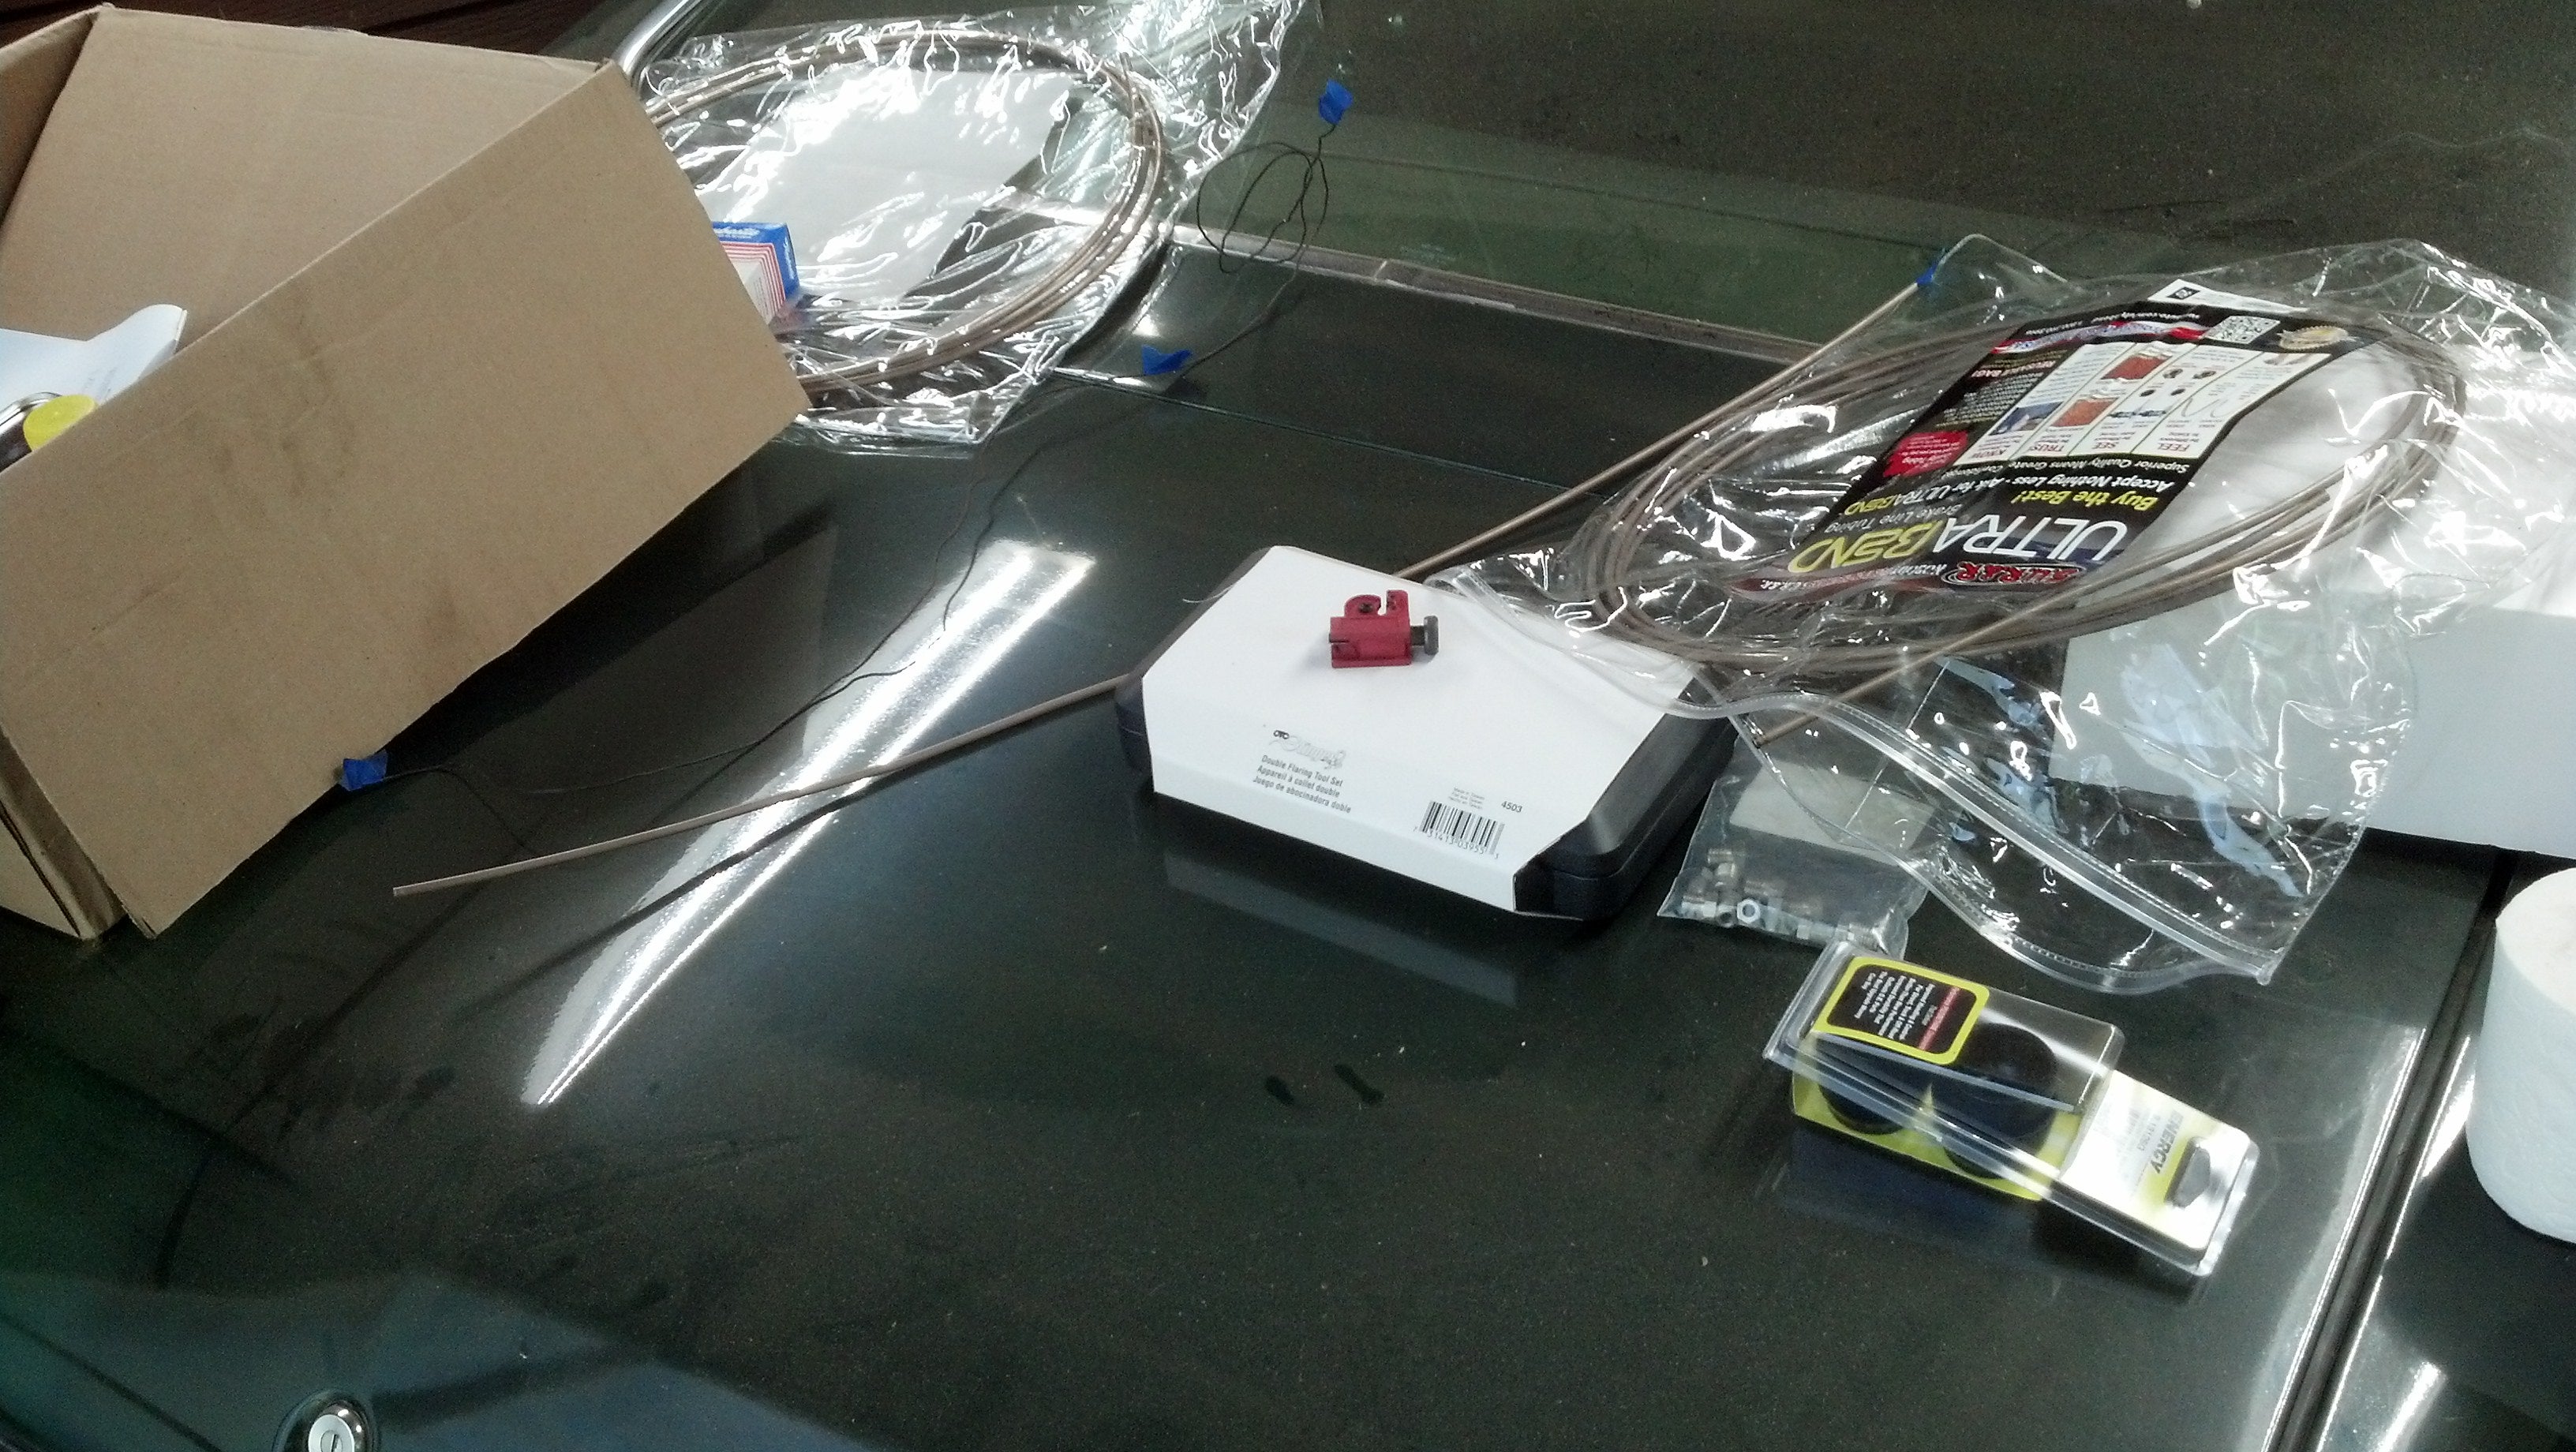
NiCopp is wonderful; I have no idea how the sleeve on the flaring tool case is still so clean.
I still had the front lines to do, the connections to the prop valve, and some odds and ends (as well as, you know, installing the front discs). (Previously on Chevelle Updates: Rear brakes were rebuilt, all new lines from the firewall back.)
The actual first thing I did was connect the brake pedal - last time I mounted the booster to the firewall, so I started the day by curling back up under the dash and trimming the extension rod to the right length, connecting it all, tightening the jam nuts, and adjusting the brake light switch. I may revisit this to adjust the pedal’s resting position down some in the future, but for now it’s on the stop like it was with the manual brakes (the clevis pin is in the correct, lower hole though, for those of you in the know).
I don’t have a picture of this because by this time of the day it was 90 degrees, very humid, and I was upside down in a fairly dirty footwell.
I then moved on to the easiest brake line to make, the one that runs all of a foot or two from the MC (well, the prop valve) to the front left wheel. In removing the old hard line, I made a concerning discovery:
The flex lines on the car, which I had spent years daily driving, were 45-year-old-originals.
After breaking off the hard line from the nut and chiselling the rusted-to-frame clip off, the old hard line came out without issue, and I left the old flex line to hang. After cleaning up the little perch, the new flex line was installed without issue. I taped up the banjo end so it doesn’t get dirty.
I don’t have a picture of this because by this time of the day it was 93 degrees, very humid, and my phone was out of reach.
Whipped up that hard line without problem and routed it as required. Repeat process with the passenger’s side front, though I was able to remove the clip in once piece and it hard line didn’t readily snap off at the nut (I cut it with big sidecutters). This hard line was a bit more interesting.
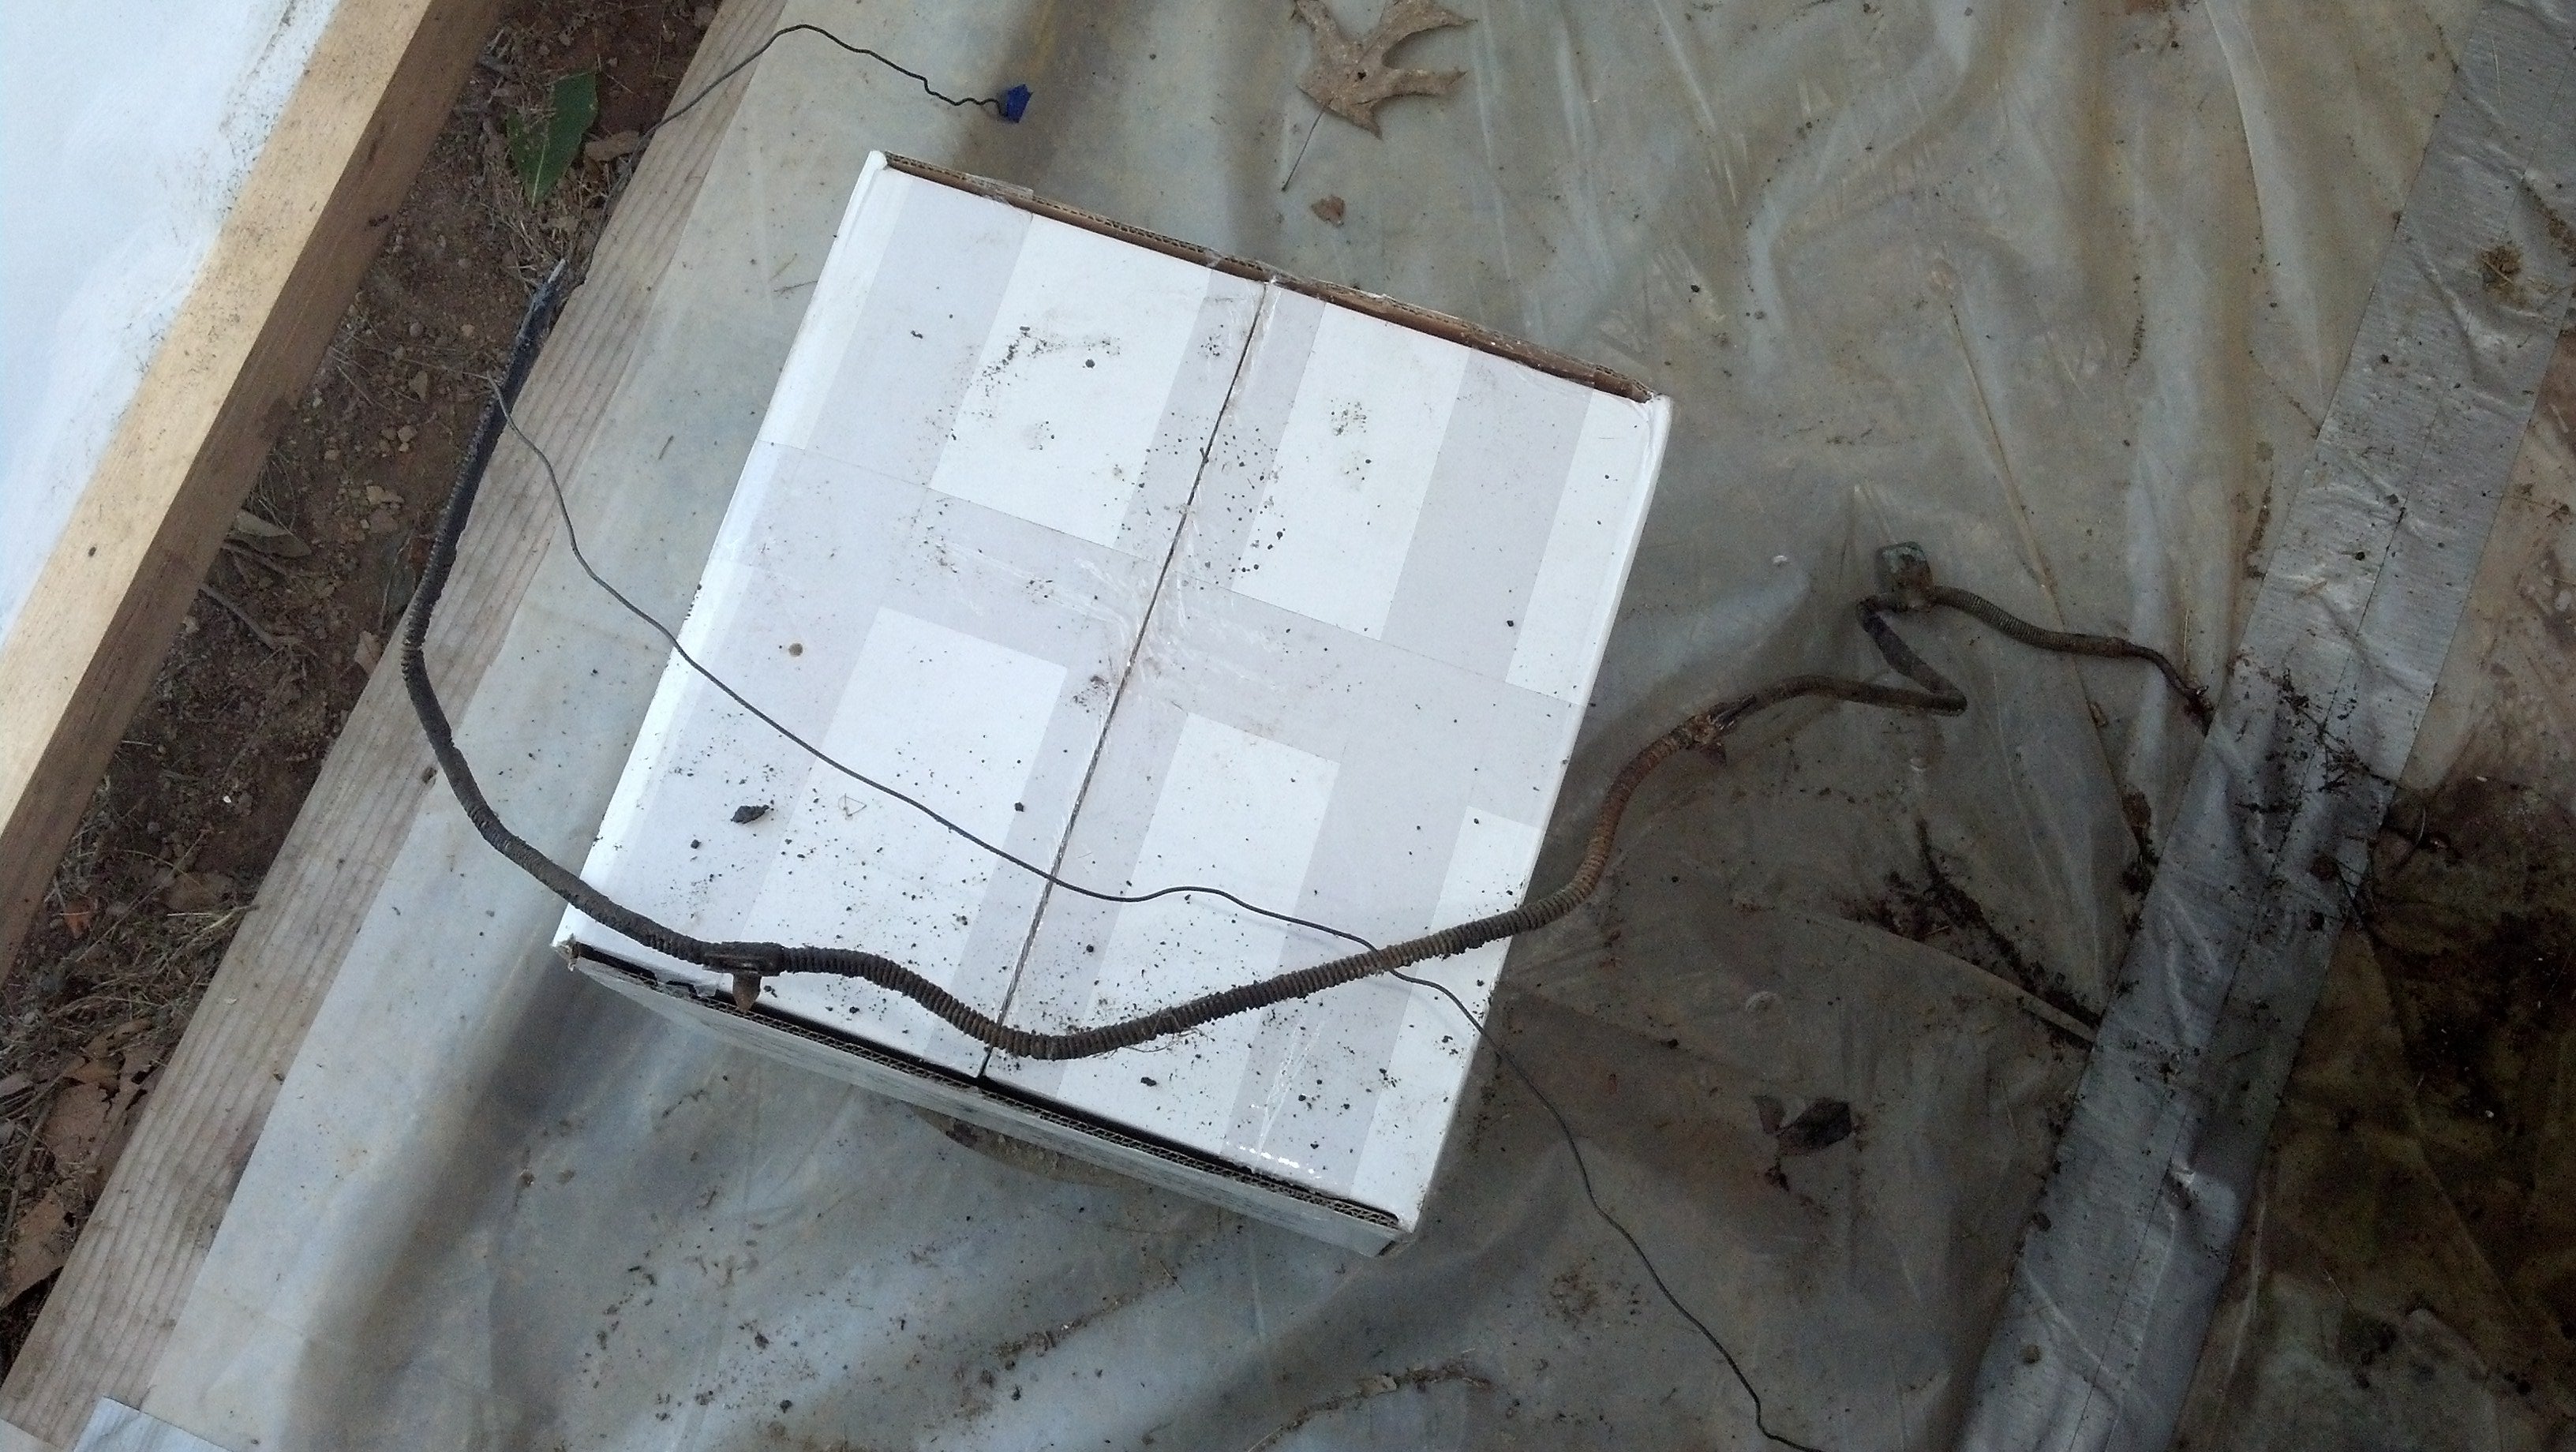
Template for most of it, though this one went to the drum distribution block on the frame rail, so the replacement had an extra 18" to make it to the prop valve. Wire used to measuring length.
To remove it I had to undo a clip, bolted to the frame, underneath the A/C evap housing. Using a 3" extension, 16" extension, a U-joint, and alternating standard and deep-well 1/2" sockets, I got it off. That clip didn’t get put back on; the new line is rigid enough without it...
After creating a new line for this one, it went in almost-easily, and connected to the new passenger’s side flex line, similarly taped off on the other end to stay clean until I connect it to the caliper. The possible-to-access clips were re-installed and verified tight.
I don’t have a picture of this because by this time of the day it was 95 degrees, very humid, and my phone was probably still by the trunk from taking the previous picture. I get lazy with this stuff when working alone.
After taking a break to cool down a bit, I sat back down in the wheel well and ended up watching a spider work on wrapping up (or something) whatever bug had made its way into the web. It was pretty cool.
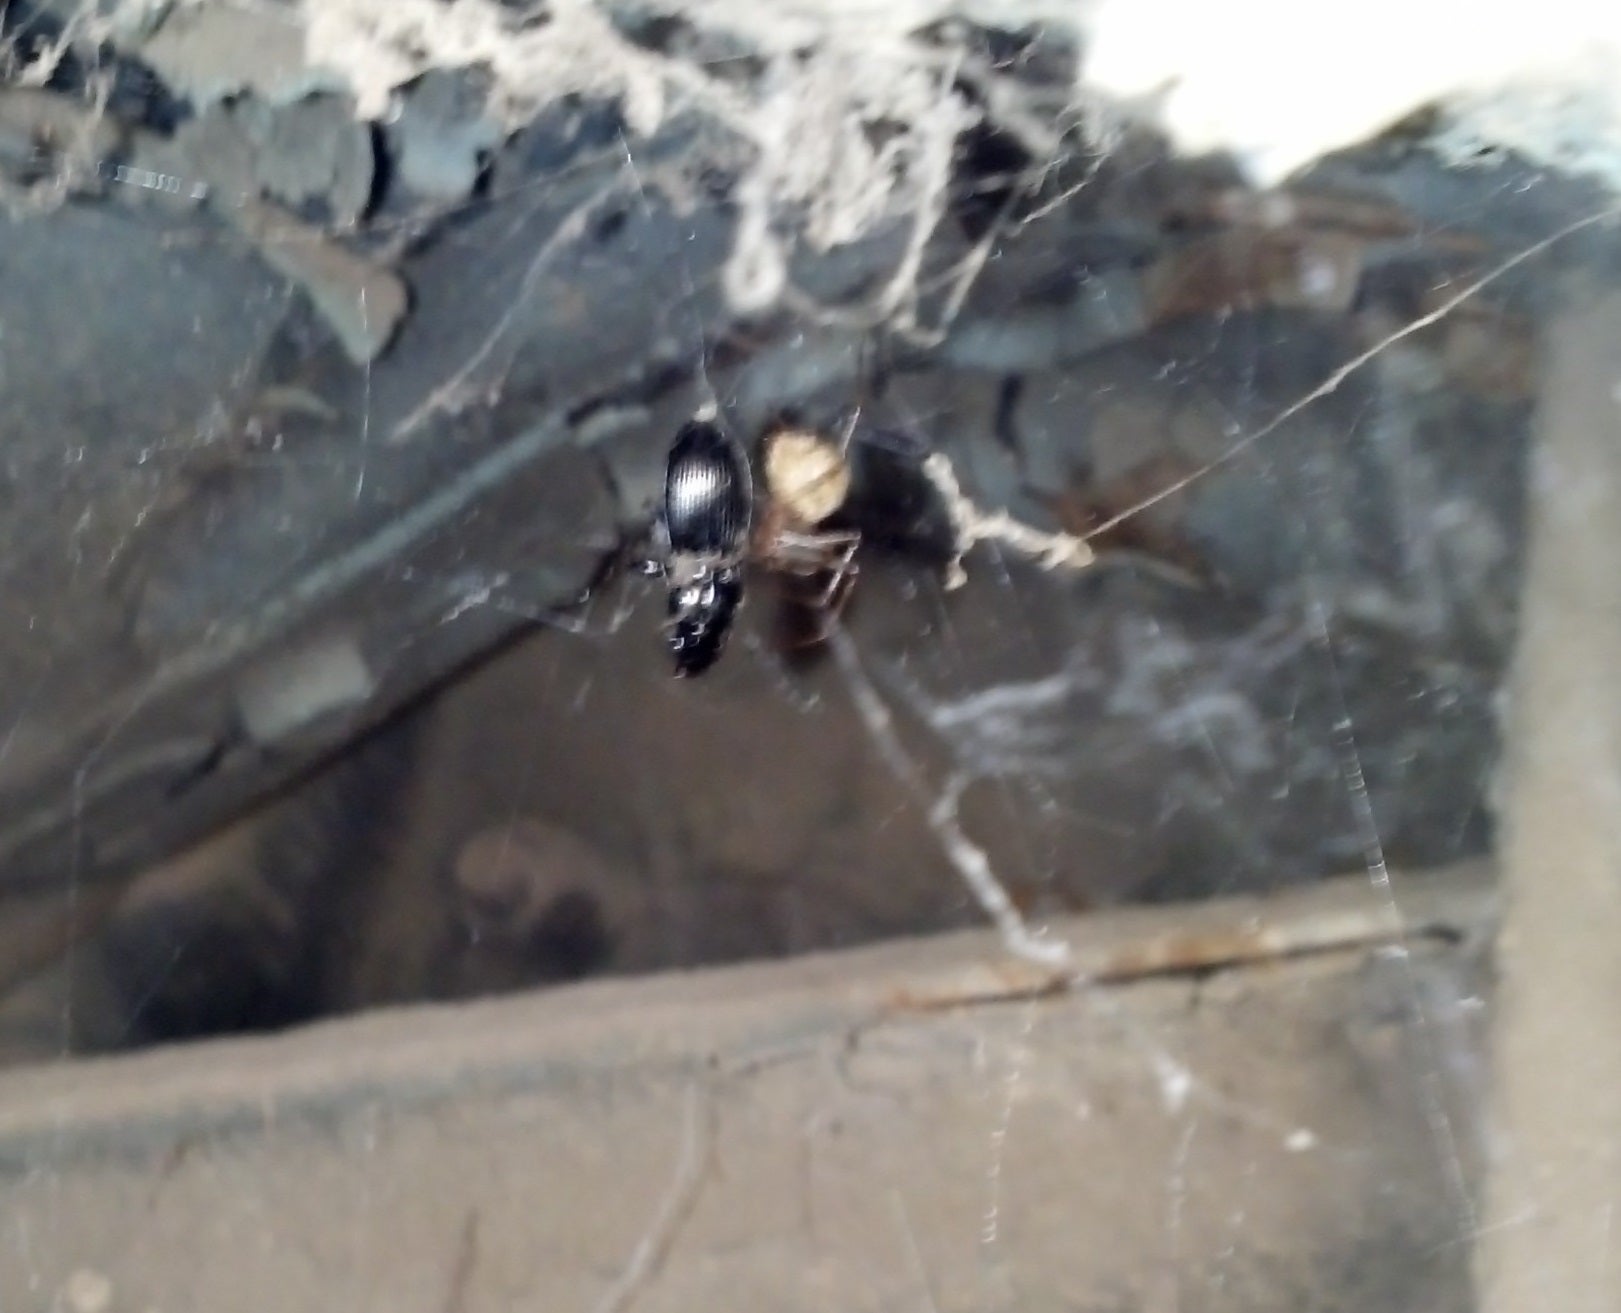
Above: 45 year old undercoat peeling. Center: nasty spider getting ready for dinner. Bottom: Front bumper support.
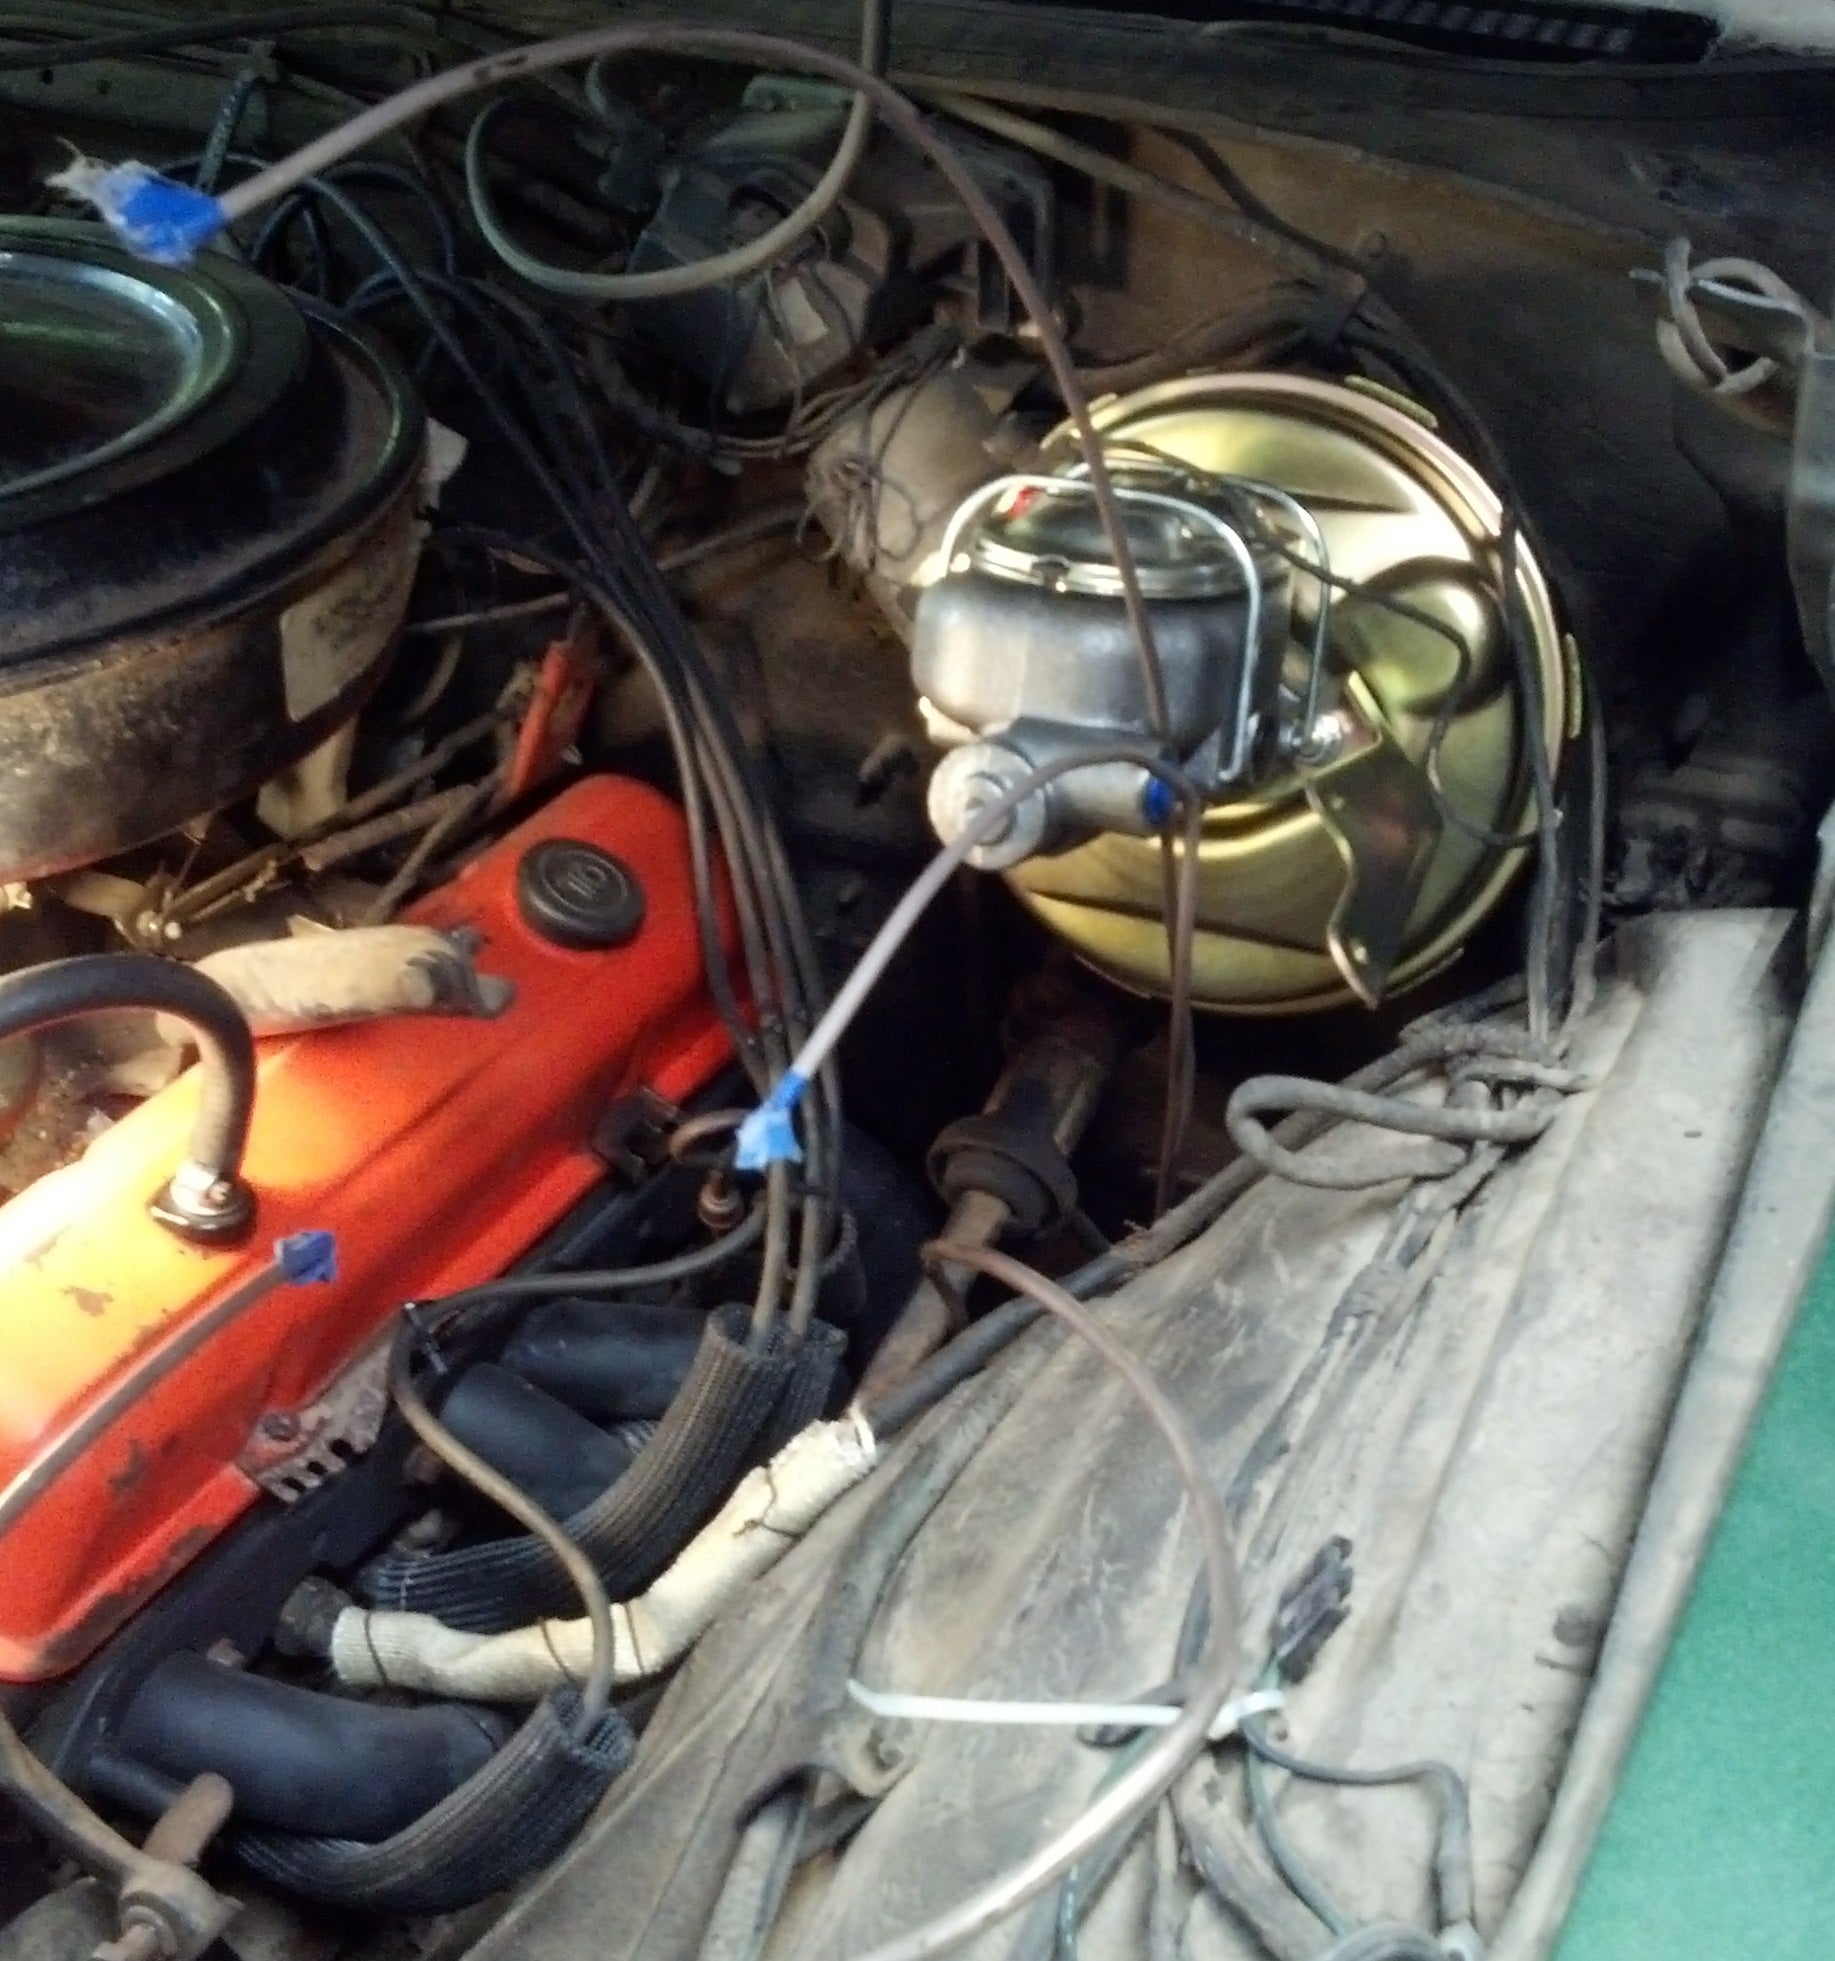
Anyways, at this point it was just a matter of connecting the three lines (one to the rear, two to the fronts) to the proportioning valve, which hangs out next to the master cylinder, and is not pictured below but would be on that bracket (which should be plumb) hanging to the right of the MC.
This was not overly difficult, and is the only thing I’m actually upset I didn’t take a picture of (because by this point in the day it was about 90 degrees and even more humid) since it turned out fairly well.
What’s Next?
Primarily I need to install the disc brakes on the front, which basically means moving the steering knuckles over to new spindles, yanking the entire spindle/hub/drum assembly, and putting on shiny new bits.
After that, the MC will be bench bled, installed for real, plumbed to the prop valve (I have lines for this), then it should be time for a whole lot of DOT-4 bleeding and leak-checking-for.
Finally, the booster will need connected to the manifold (somewhere) to get vacuum, and the wire for the “BRAKE” light, which connects to the prop valve, will be receiving a new end and then be plugged in.
The good news is that “Next time” should be this coming weekend!
 Long Live the Longdoor
> MM54
Long Live the Longdoor
> MM54
07/24/2016 at 21:39 |
|
Nice! I just finished the install of the two front to rear brake lines on my
$500 Saturn
today, got them all tucked up in place and was all prepped to bleed the system and finish the job; which turned in to 3 hours to replace the bleeder screw on the passenger side and replace the whole wheel cylinder on the driver side because the bleeder screw snapped off inside the cylinder (
|
MM54
> Long Live the Longdoor
07/24/2016 at 22:00 |
|
Very cool! Fortunately this car isn’t very rusty, it was very very well undercoated by the previous/original owner immediately after purchase, so the only rust is from where it chipped off or things that were replaced/can’t be undercoated (and some common sheetmetal rot behind the wheels, etc). That said, I’m glad it’s only one line front-to-back because it was a pain!
Those Saturns always decieve me since they never really look like they should be rusty.
On my Crown Vic, both rear bleeders were seized up when I got it, after setting myself on fire while trying to free the passenger’s side (winter = cold = gloves; brake fluid on gloves, etc + torch...), I just replaced the calipers :)